How to catch a wave?
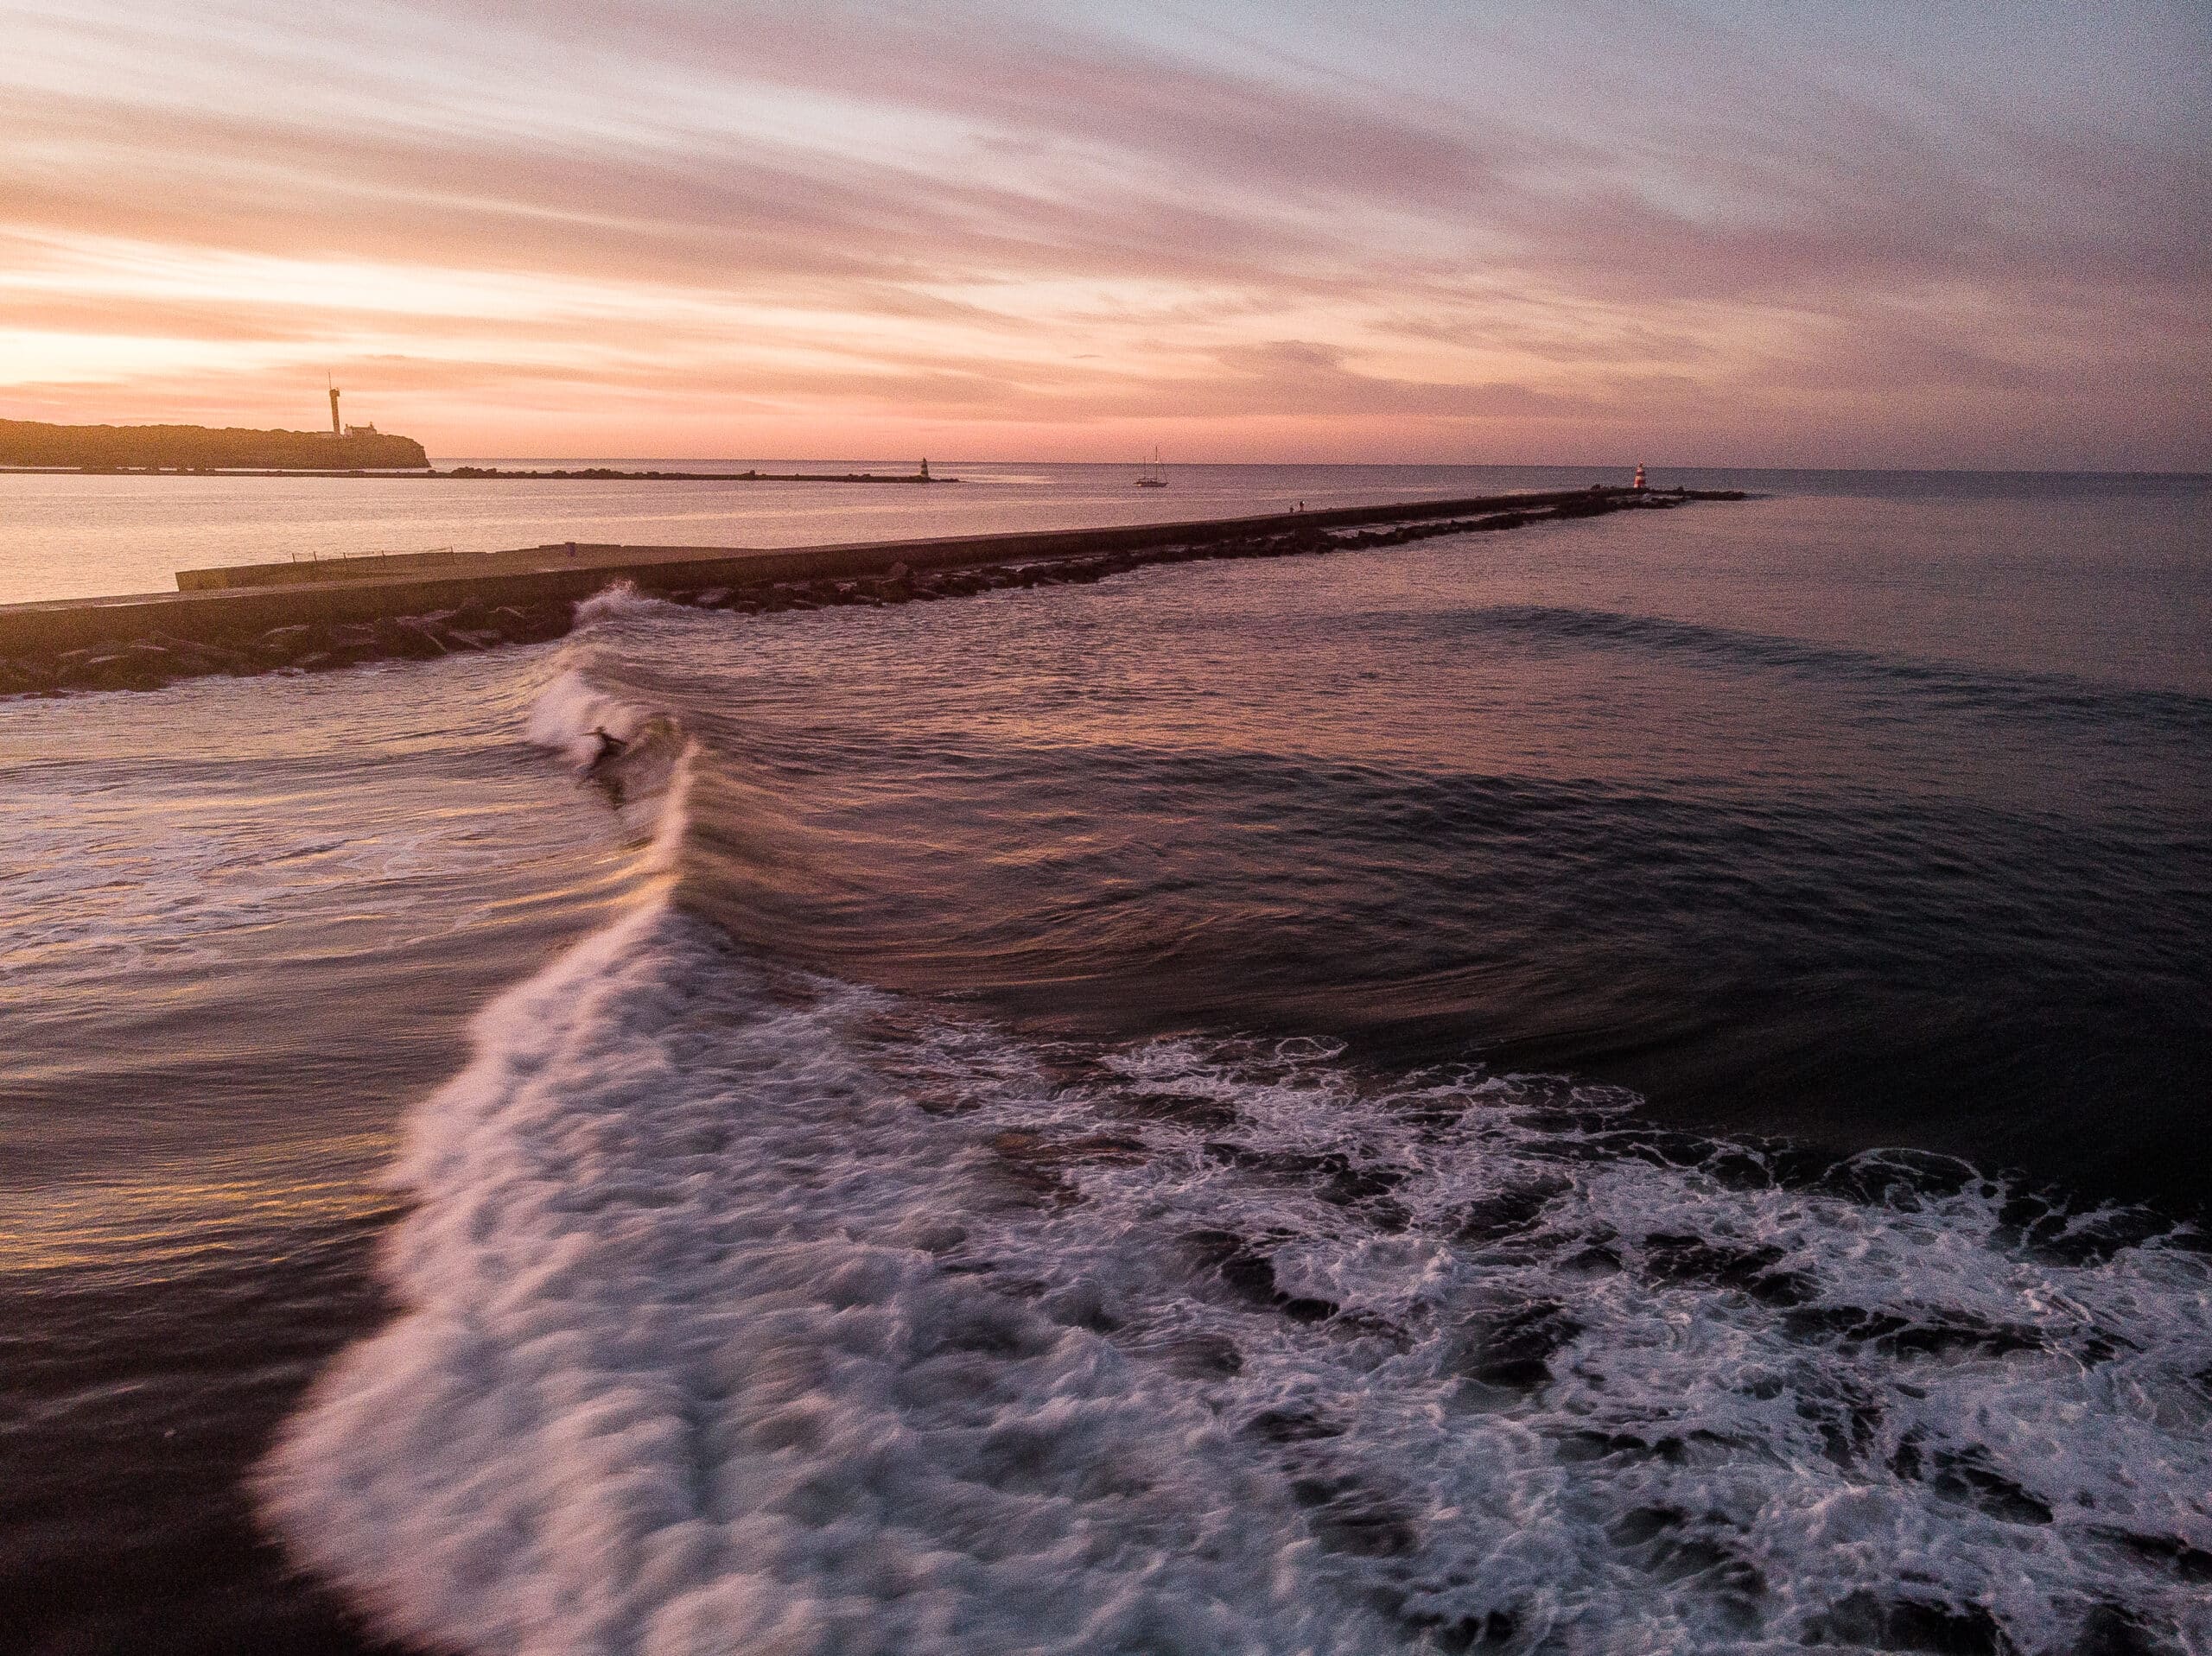
Unlike any other sports, surfing is not starting on your feet but on your belly laying on the board. Before you get up , you also need to make your way to be on the wave. But how to catch a wave?
In this article we introduce you to the different phases of a wave and discuss how to position and paddle for white water and green waves.
Phases of a wave:
The bump:
This is the 1st visible stage of a wave when you see the wave is just being formed deeper from the lineup. Try to identify the wave as soon as possible in a sitted position so you can follow through with your eyes and adjust your position to be at the best location. Ideally we want to be on the peak of the wave. At this stage the wave already started to roll over but not having any lifting power or enough energy to pick up your board and be ridden. Common mistake with beginners is that they already try to paddle on the bumps so they get tired of paddling the flat and later on they cannot paddle for the actual wave.
Unbroken, green wave:
The 2nd phase of the wave when it kinda looks like a skate ramp or a nice skiing slope, let’s say in between 70-80 degrees . This is the right moment to start paddling for the wave and later on make your pop up and slide down on the green wall.
When you paddle for this kind of wave timing is crucial. You have to make sure you do not paddle too quickly, otherwise you paddle away from the right stage and the wave will get too steep. If you do not paddle with enough power or long enough you can also miss the wave because you cannot match its speed or get to the other side of the wave. There is a small phase when you actually also paddle down the wave and not on top of it, when you feel the nose of the board is sliding down that’s the right moment to start standing up. You will feel something similar then on the rollercoaster that is quite fun and addictive.
A pro tip: while you paddle for the wave look behind your shoulders how steep the wave gets so you can adapt your paddling to its steepness.
Catching the green waves are more for intermediate surfers because it’s difficult timing and synchronicity with your paddling. At this stage many beginners experience nosedives and the frustration of not getting the wave. Best thing you can do is keep on trying and fall over and over again – no pain no gain . To make it less painful you can also watch other surfers and observe how they time and how they position themselves. This can just happen on the beach; you do not need to be necessarily in the water. You can also have a lesson so an instructor can help you with the right timing.
The wall – Breaking wave
The 3rd phase of the wave is the one you don’t want to be taking or be right under. When the waves are breaking, it means that their lips come crashing down. When you look back behind your shoulder and you see the lip is breaking down , the face of the wave is being too steep. Just pull back and let the wave break down on its own . There will be more waves and you can nail your timing better.
The white water – Already broken wave.
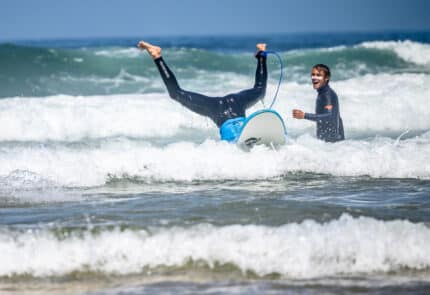
This is the last phase of the wave when it all breaks down into white foam. It can be quite powerful when it just starts breaking down but if you position yourself about 10 meters ahead the explosion it’s perfect to learn the pop up. Make sure your feet touch the ground so you can actually see the wave before you start paddling and you are not going to drift on your board laying down. Make sure you paddle hard in the beginning especially to build up the speed and when you feel being pushed by the wave do some extra strong paddle strokes to make sure the foam is not passing under you .
It’s easy to identify the white water because it is not changing its shape like the green wave and has more energy to push ahead so it’s ideal for beginners to start learning the pop up .
To catch a wave it’s important to understand and learn how to read them just like we did in the first years in school. It takes time so be patient and enjoy the process to the barrels.
